Siding Done Right.
Vinyl, fiber cement and full replacement siding installed with precision detailing and tight reveals.
Every siding project from Prestige is led by an experienced crew, installed with premium materials, and finished with the kind of attention to detail that only a family-owned shop delivers. We've been the trusted choice for homeowners across New Jersey since 2015.
Why siding problems can't wait.
Siding is the rain jacket of the house. The panels are what people notice, but the real protection is the housewrap, the flashing, and the way every J-channel and butt joint is detailed. When those hidden layers are skipped, wind-driven rain can reach the sheathing, and the wall can start to rot from the inside. By the time the siding looks bad, the damage behind it is often further along.
Common warning signs
- Cracked, faded, or hail-damaged panels that no longer shed water cleanly.
- Soft sheathing behind the siding from slow leaks at window heads or corners.
- Pulled or split J-channel around windows and doors.
- Warped panels with gaps that invite insects and moisture.
- Mismatched, patched, or sun-faded color that hurts the whole elevation.
How we build it — and what makes it ours.
A siding wall is a system. Sheathing covers the studs, housewrap goes over it with taped seams and proper shingled laps, and every window and door gets head flashing with correctly cut J-channel so the weather barrier drains into the channel, not behind it. Panels are fastened with the right schedule and a real expansion gap so the wall can move with the seasons without buckling. Butt joints are staggered, course lines are kept level across the elevation, and trim profiles are chosen to match the architecture. The Prestige touch: tight reveals, mitered corners, and color choices made with the homeowner on-site so the final look works in real light.
This is how we actually do siding.
Real photos from real Prestige jobsites — step by step.
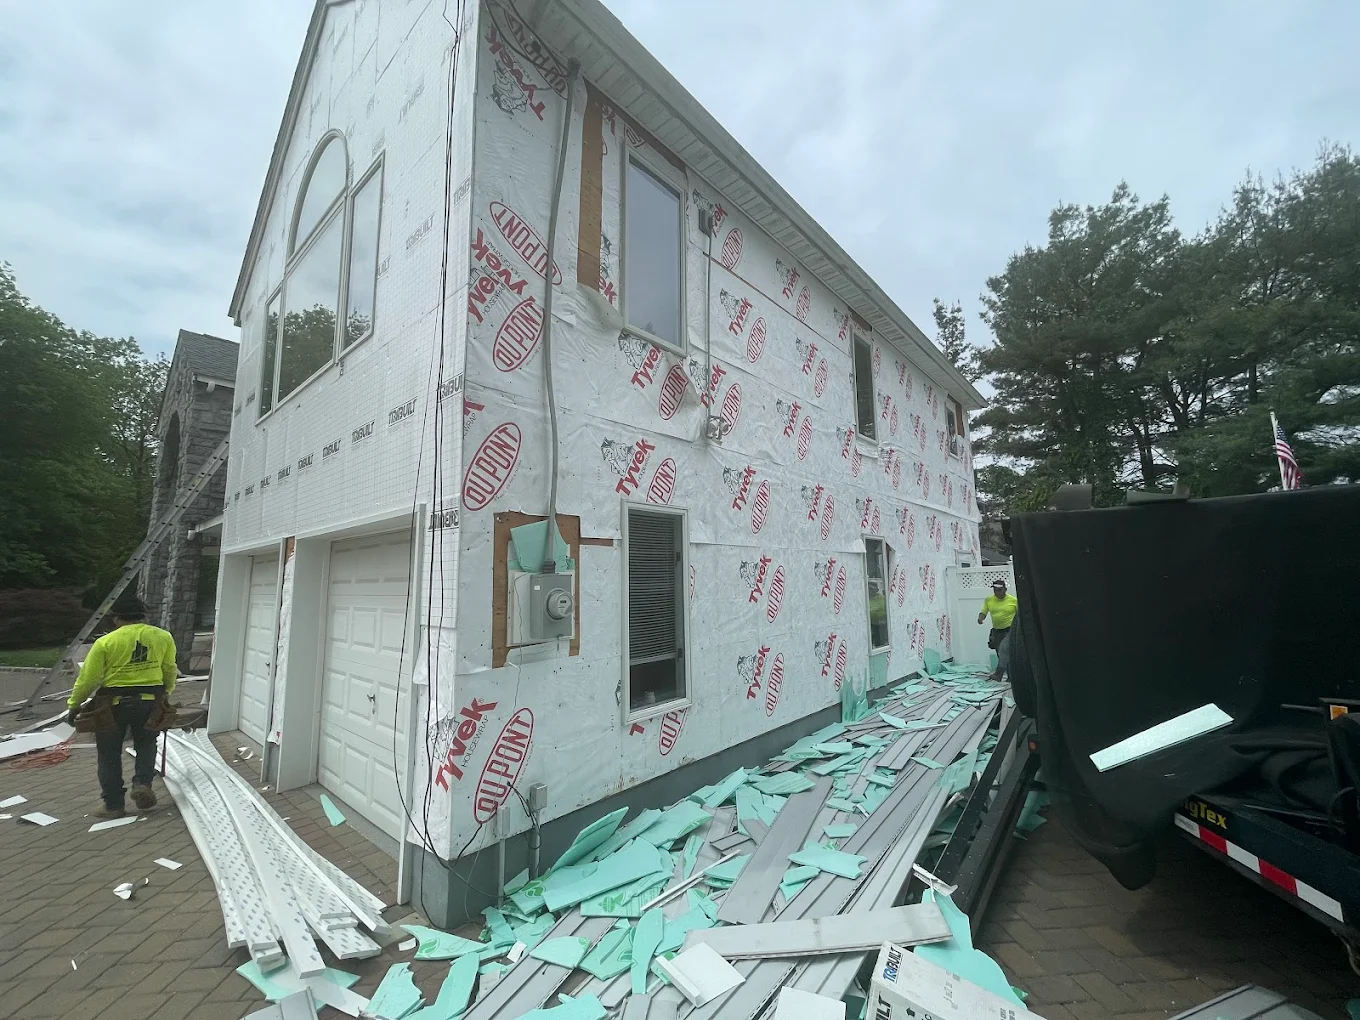
1. Tear-off, sheathing, and housewrap
Old siding is removed, any soft sheathing is replaced, and full housewrap goes on with taped seams and correctly shingled laps. The weather barrier is doing the heavy lifting, so we treat it that way.
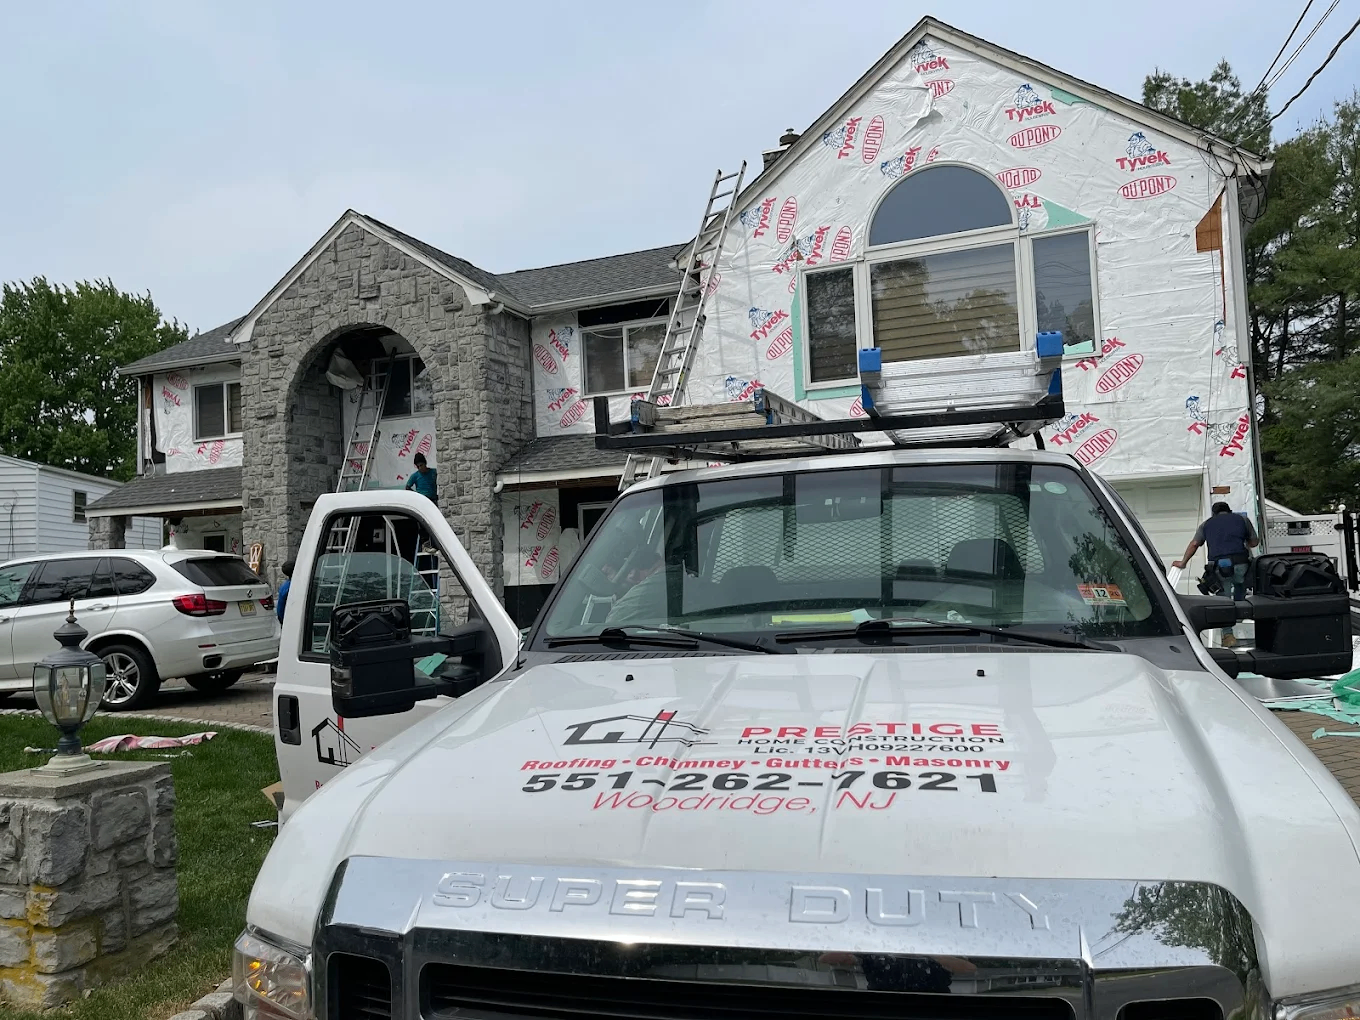
2. Detail windows, doors, and penetrations
Head flashing, properly cut J-channel, and trim go on before the first panel is hung. This is the detail that keeps a wall dry behind the finish.
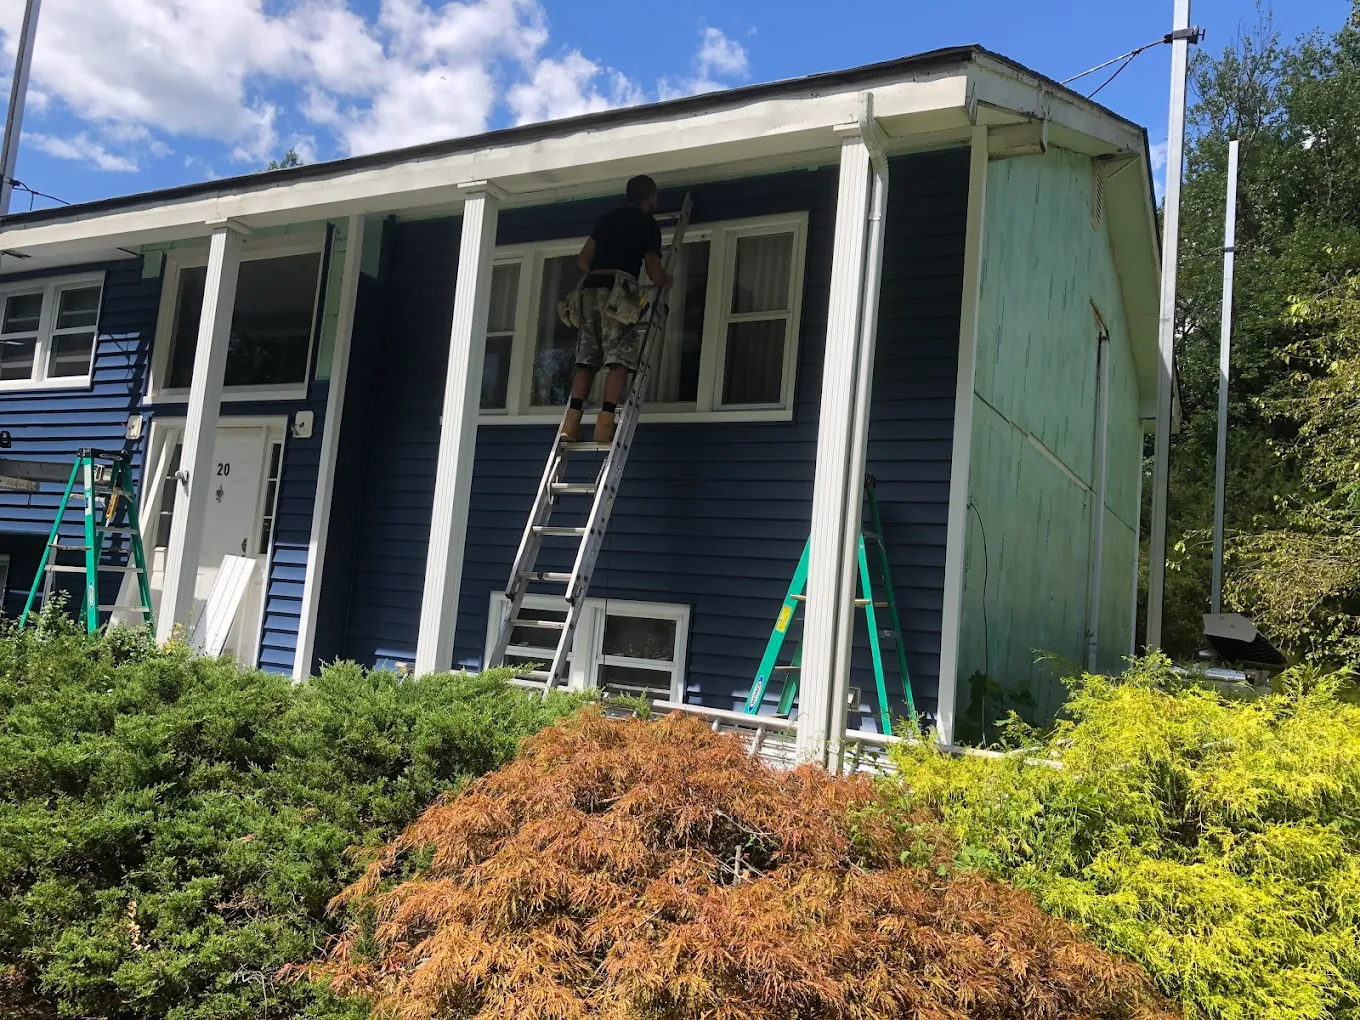
3. Hang the field with even reveals
Course lines are kept level, butt joints are staggered, fasteners are set to manufacturer spec, and expansion gaps are placed where they belong. The pattern is what separates an install from a finished elevation.
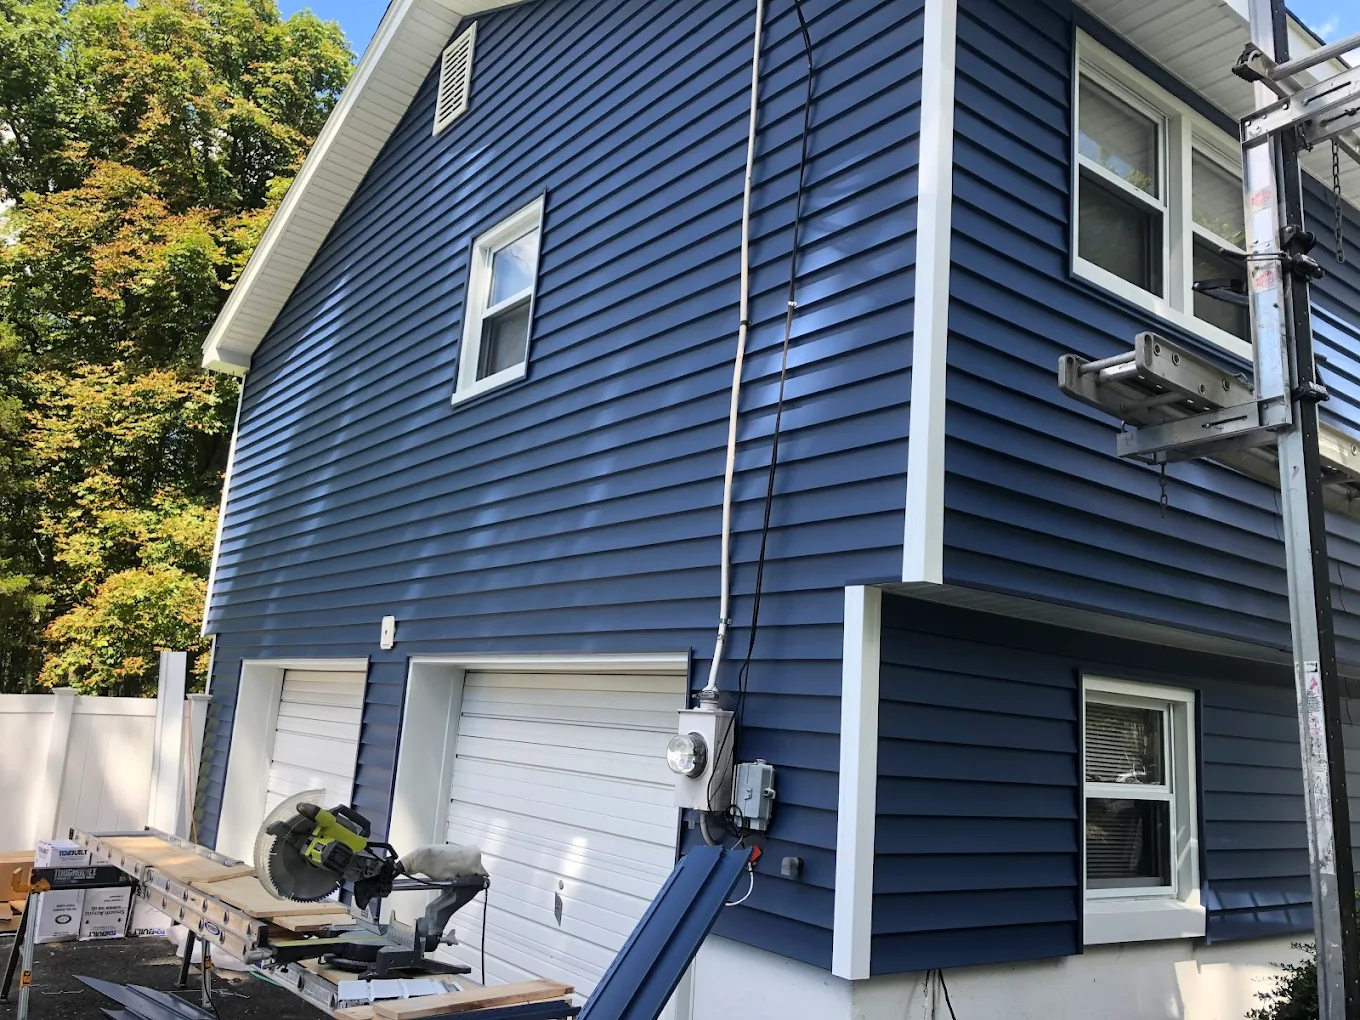
4. The finished elevation
Crisp color, straight lines, and trim that fits the architecture instead of fighting it. The same house, finally dressed the way it should be.
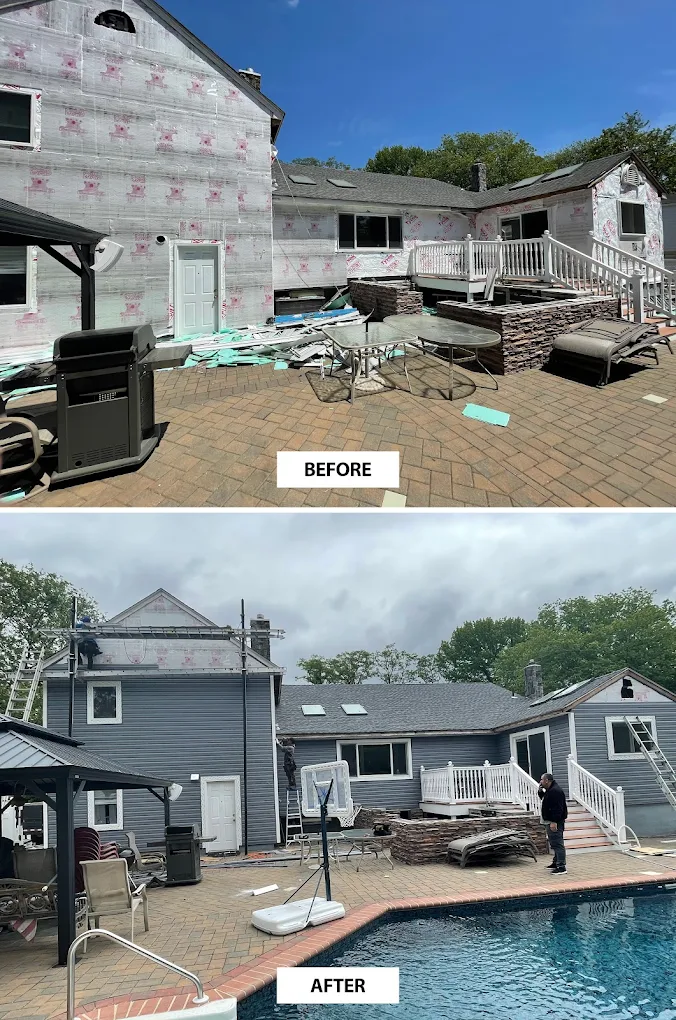
5. Before and after for your records
We document the project start to finish so the homeowner can see exactly what was removed, what was corrected behind the wall, and what changed at the curb.
How We Work
Consultation
Free on-site visit to understand your goals and inspect the project.
Detailed Quote
Clear, line-itemed estimate — no pressure, no surprises.
Expert Install
Our experienced crew completes the work on time and on budget.
Final Walkthrough
We don't leave until every detail is perfect and you're 100% satisfied.